You spend Saturday clearing dishes, scrubbing the bathroom, and pushing the vacuum through every room. By Sunday, dust shows on the shelves again, crumbs sit beneath the kitchen chairs, and the laundry basket is full. It's frustrating when a long cleaning session doesn't leave the house easier to maintain.
The answer isn't always to work faster. A basic house cleaning checklist works better when you clean in a sensible order and decide when each task needs repeating. Clear surfaces before wiping them. Dust before vacuuming. Save floors until the work above them is finished.
Household upkeep is recurring work, not an occasional project. In 2024, 80% of people performed household activities on an average day, according to the U.S. Bureau of Labor Statistics, a category that includes cooking, household management, and other work beyond cleaning.
Practical rule: Give every chore a place in the room's cleaning sequence, a repeat interval, and a visible finish line.
Use the frequencies below as starting points, not rigid rules. A shared kitchen needs different attention from a rarely used guest bedroom. The numbered tasks are building blocks: in a bedroom, strip bedding early; in any room, finish glass and surfaces before cleaning the floor.
Table of Contents
- 1. Declutter Before Cleaning
- 2. Dust High to Low
- 3. Clean and Sanitize the Kitchen
- 4. Clean the Bathroom
- 5. Vacuum and Mop Floors
- 6. Change and Wash Bedding
- 7. Clean Glass, Mirrors, and Windows
- 8. Empty Trash and Sanitize High-Touch Surfaces
- How the 8 basic cleaning tasks compare
- Turn This Checklist Into a Routine You Actually Keep
1. Declutter Before Cleaning
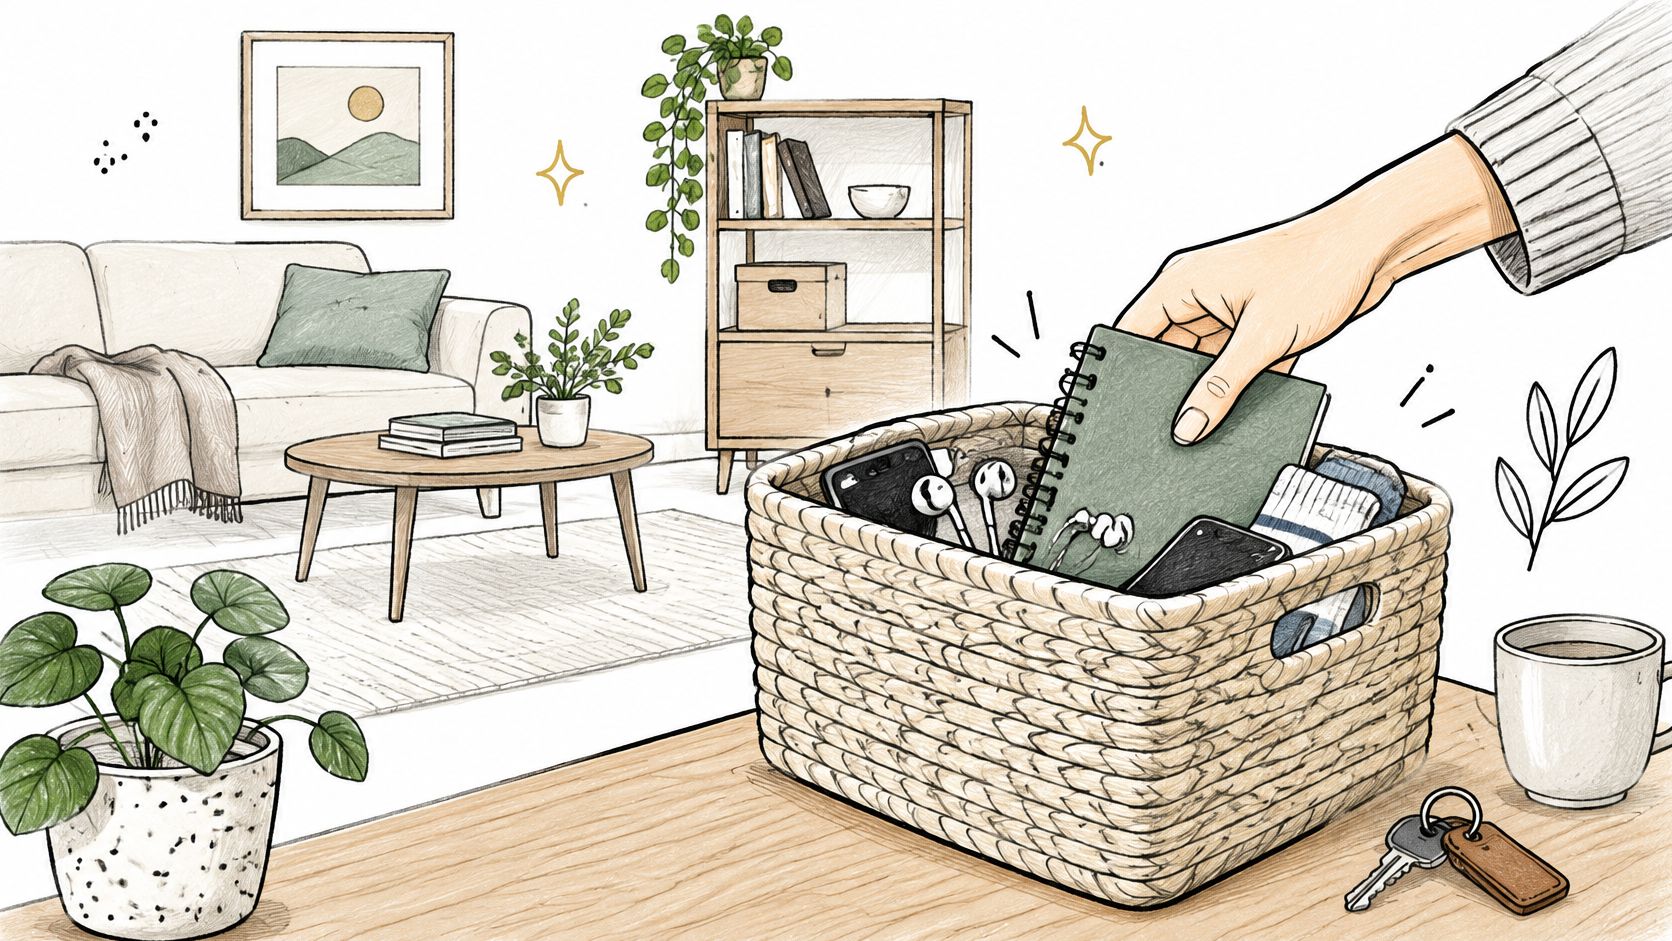
Start with the things that prevent you from reaching the surface underneath. Take dishes to the kitchen, put clothing in the hamper, collect rubbish, and move paperwork off the table. Don't begin by sorting a drawer while the floor is still covered.
A carrying basket keeps this pass contained. Say the living room holds school papers, socks, and coffee mugs. Collect the misplaced items together, then return them to their homes before you finish, rather than leaving a basket of deferred decisions beside the sofa.
Clear access, not every cupboard
Decluttering for cleaning isn't a full reorganization. You need enough access to wipe furniture, reach corners, and move safely around the room. Save donation decisions and storage changes for a separate task.
- Daily reset: Clear kitchen worktops, dining surfaces, and walking routes. Finish when each space can serve its normal purpose.
- Before the weekly clean: Lift loose belongings from floors and furniture. Finish when you can dust and vacuum without stopping to sort.
- Separate organizing session: Deal with recurring piles when they keep blocking the same space. Finish by giving those items a specific storage place.
In a shared home, make residents responsible for their belongings before the assigned cleaner starts. A guide to splitting chores with roommates can help separate personal tidying from shared cleaning.
Keep the finish line modest. A clear tabletop counts even if the cupboard beneath it still needs organizing.
2. Dust High to Low
Dusting a shelf after vacuuming means you may need to clean the floor again. Work downward instead: ceiling corners, accessible fixtures, upper shelves, furniture, then baseboards. Use a telescoping duster for high areas rather than balancing on furniture.
For washable, moisture-tolerant surfaces, lightly dampen a microfiber cloth. Fold it so you can expose a clean face as it collects dust. A saturated cloth leaves moisture behind, while a dirty cloth spreads the material you're trying to remove.
Remove dust from the room. Don't just move it from the shelf into the air.
Divide visible dust from overhead work
For a weekly living-room clean, start with accessible upper surfaces, wipe shelves and side tables, and finish with lower furniture edges. Schedule ceiling fans and high vents separately so they don't turn every routine clean into a major job.
- Weekly furniture dusting: Wipe exposed shelves, tables, and reachable furniture tops. Finish when visible dust is removed, including the edges around objects.
- Monthly overhead check: Inspect ceiling corners, fan blades, and vent covers. Clean visible buildup using a stable, suitable tool.
- As-needed detail work: Dust baseboards and awkward gaps when buildup appears. Finish when loose debris has been collected, ready for vacuuming.
Hard-to-reach areas deserve their own reminder. In a 2024 U.S. survey, 49% of respondents identified cleaning behind or underneath furniture or appliances as a challenge, according to the American Cleaning Institute.
Don't pull out a heavy appliance just to complete a checkbox. Clean what you can safely reach, and plan difficult access separately.
3. Clean and Sanitize the Kitchen
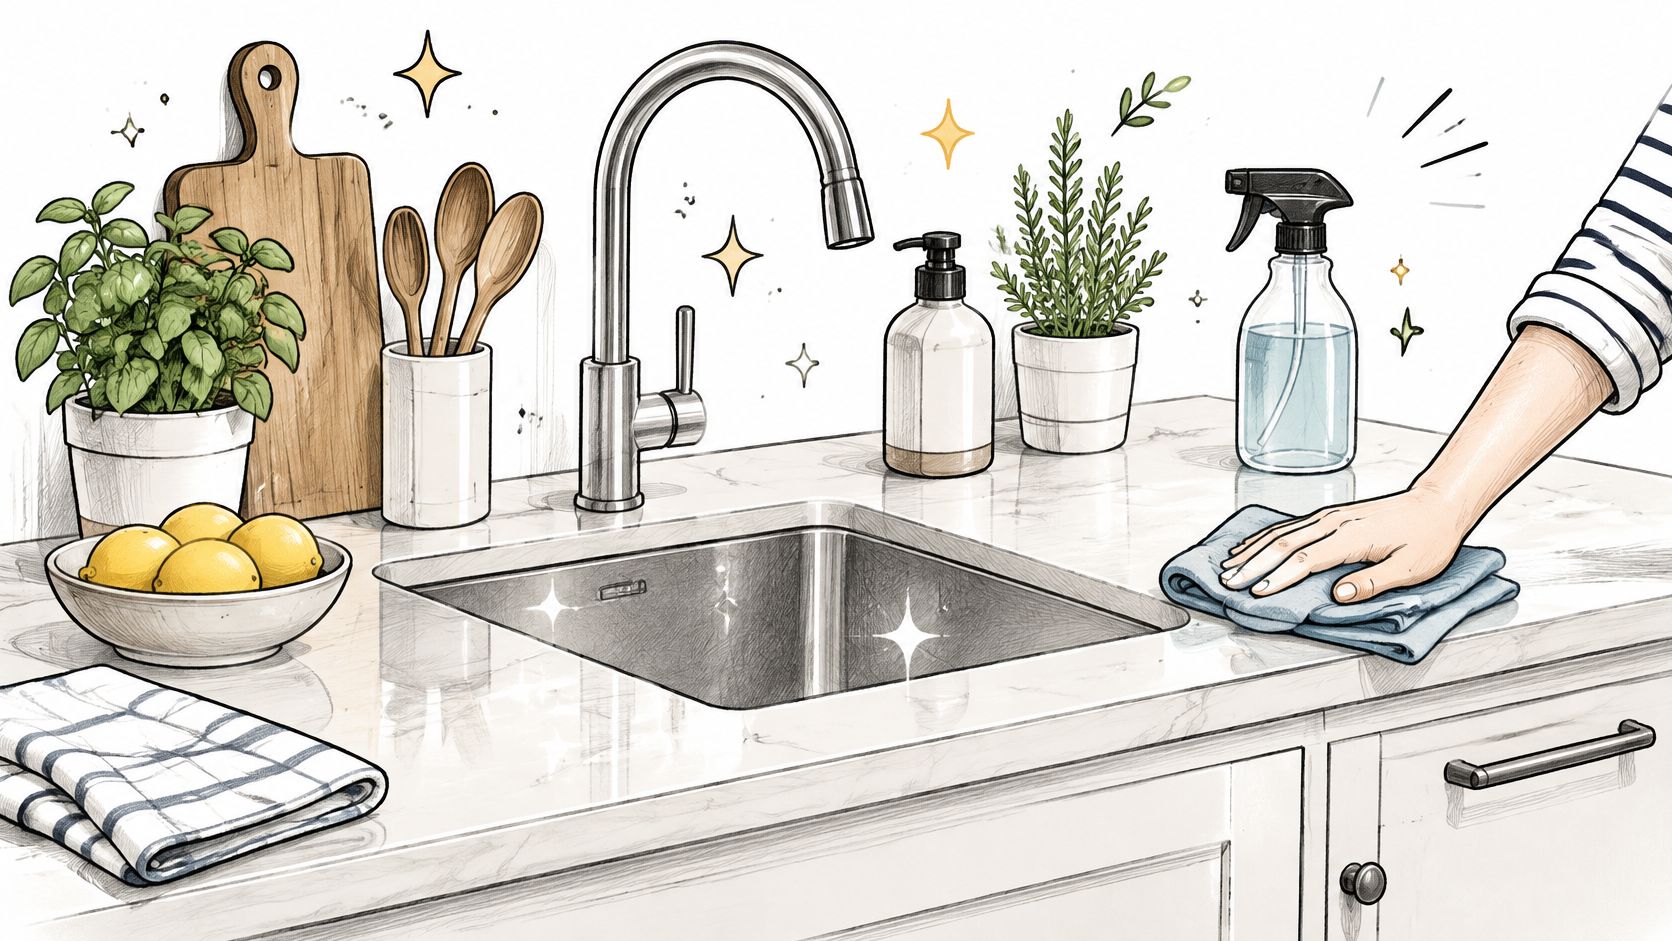
Dinner cleanup should leave the kitchen ready for the next meal, not ready for another cleaning session. Put food away, clear dishes, remove crumbs, and then wash the surfaces. Clean the sink after handling dirty dishes so you aren't immediately soiling it again.
Keep separate cloths for counters, the sink, and floor spills. Once you've used a cloth around raw-food residue, remove it from the general wiping routine. Don't carry it across cabinet handles and the dining table.
Follow the food-to-floor sequence
- After food preparation: Wash dishes and clean preparation surfaces. Finish when food residue is gone and the surface is ready for its next use.
- Daily kitchen reset: Wipe counters, clean the cooled stovetop, wash the sink, and check waste. Finish with clear work areas and no standing dirty dishes.
- Weekly appliance check: Clean microwave splatters, inspect refrigerator shelves, and remove accessible cooking grease. Finish when spills and sticky patches are gone.
- Periodic deeper work: Schedule oven cleaning and a full refrigerator clean separately, following appliance instructions.
Cleaning and sanitizing aren't interchangeable. Remove soil first. When sanitizing a food-contact surface is appropriate, use a product labeled for that purpose and follow its wet contact time and rinsing instructions.
For a shared kitchen, assign complete stages rather than vague help. Someone can own dishes and the sink while another person handles counters and the cooled stovetop. Both should know that the floor comes last.
4. Clean the Bathroom
Use the bathroom fan or open a suitable window before you start. Gather separate cloths for the mirror, general surfaces, and toilet, then remove bathmats and loose toiletries. Keeping toilet tools separate matters more than making every fixture smell strongly of cleaner.
Begin with the mirror and upper surfaces. Apply suitable cleaners to the shower, bath, or toilet as directed, allowing the specified working time without letting products dry where they shouldn't. Work through the sink and bathing area before cleaning the toilet exterior, then finish the bowl and floor.
Keep the routine safe and bounded
Never mix bleach with other cleaners, including ammonia or vinegar. Keep products in their labeled containers, and don't layer a different cleaner onto a surface that still carries the previous product. A U.S. Ipsos survey for the American Cleaning Institute reported disinfectant-wipe use among 50% of respondents since the beginning of the pandemic, but common use doesn't make every product suitable for every bathroom finish.
Use this demonstration as a visual companion to your own surface and product instructions.
- Daily spot care: Remove toothpaste, hair, and obvious splashes. Finish when the sink is usable and wet towels are hung to dry.
- Weekly bathroom clean: Clean the mirror, sink, faucets, bath or shower, toilet, and floor. Finish when residue is removed and fixtures are rinsed as required.
- Between scheduled cleans: Address visible soil immediately rather than waiting for bathroom day.
For a family bathroom, assign the shower and toilet separately if that makes the workload manageable. Specify who finishes the floor so it doesn't become everyone's assumed responsibility and nobody's actual chore.
5. Vacuum and Mop Floors
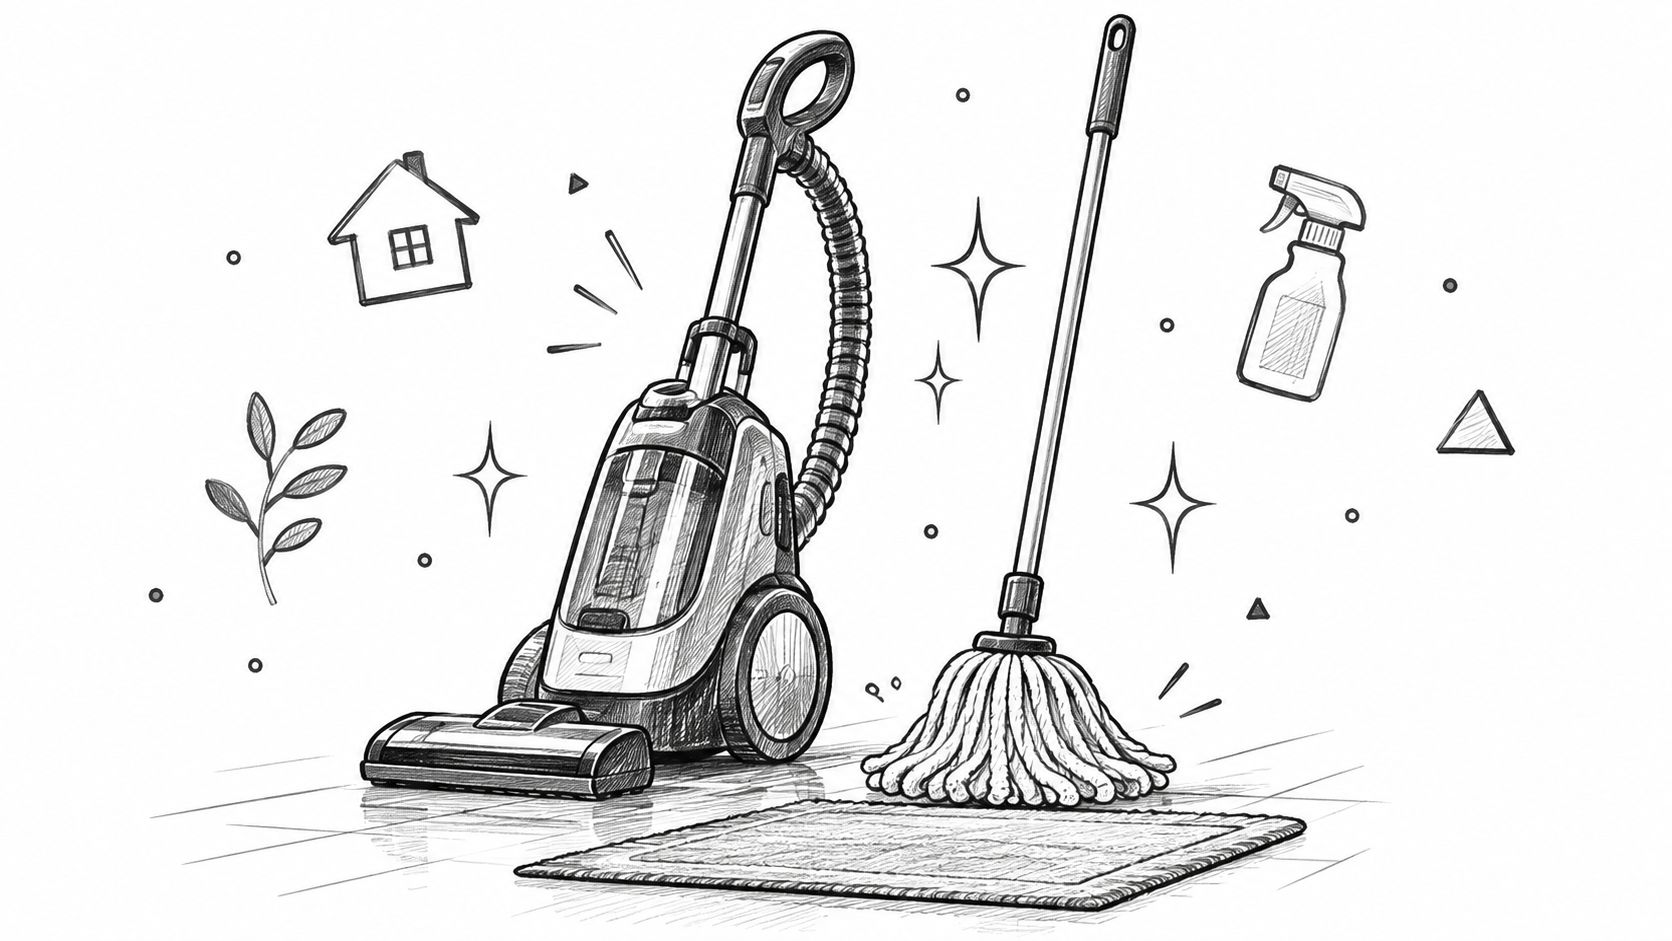
A mop isn't a substitute for removing loose dirt. Vacuum or sweep first, paying attention to edges, chair legs, and the places where crumbs collect. Otherwise, you'll push grit and hair around in dirty water.
Match the vacuum head to the surface. Use an appropriate hard-floor setting where needed, and check the brush roll for tangled hair. Empty the canister and maintain filters according to the vacuum's instructions; don't wash a filter unless it's designed to be washed.
Finish at the doorway
Work from the far side of the room toward the exit. On sealed wood or laminate, use a compatible cleaner and a barely damp mop rather than soaking the surface. Change dirty water or replace the mop pad before you spread residue into the next room.
- Daily traffic check: Remove kitchen crumbs, entryway grit, and concentrated pet hair. Finish when the affected route is free of loose debris.
- Weekly full pass: Vacuum accessible floors and rugs, then damp-mop suitable hard floors. Finish when edges are addressed and the floor dries without sticky patches.
- Periodic access work: Clean beneath safely movable furniture. Finish by returning furniture only after the floor is dry.
Say your kitchen needs daily crumb removal but the spare bedroom barely gets used. Give those rooms different intervals in your chore schedule, rather than applying the busiest room's needs everywhere.
Keep floors last within each room. Finish dusting, glass cleaning, and bedding changes before you begin this step.
6. Change and Wash Bedding
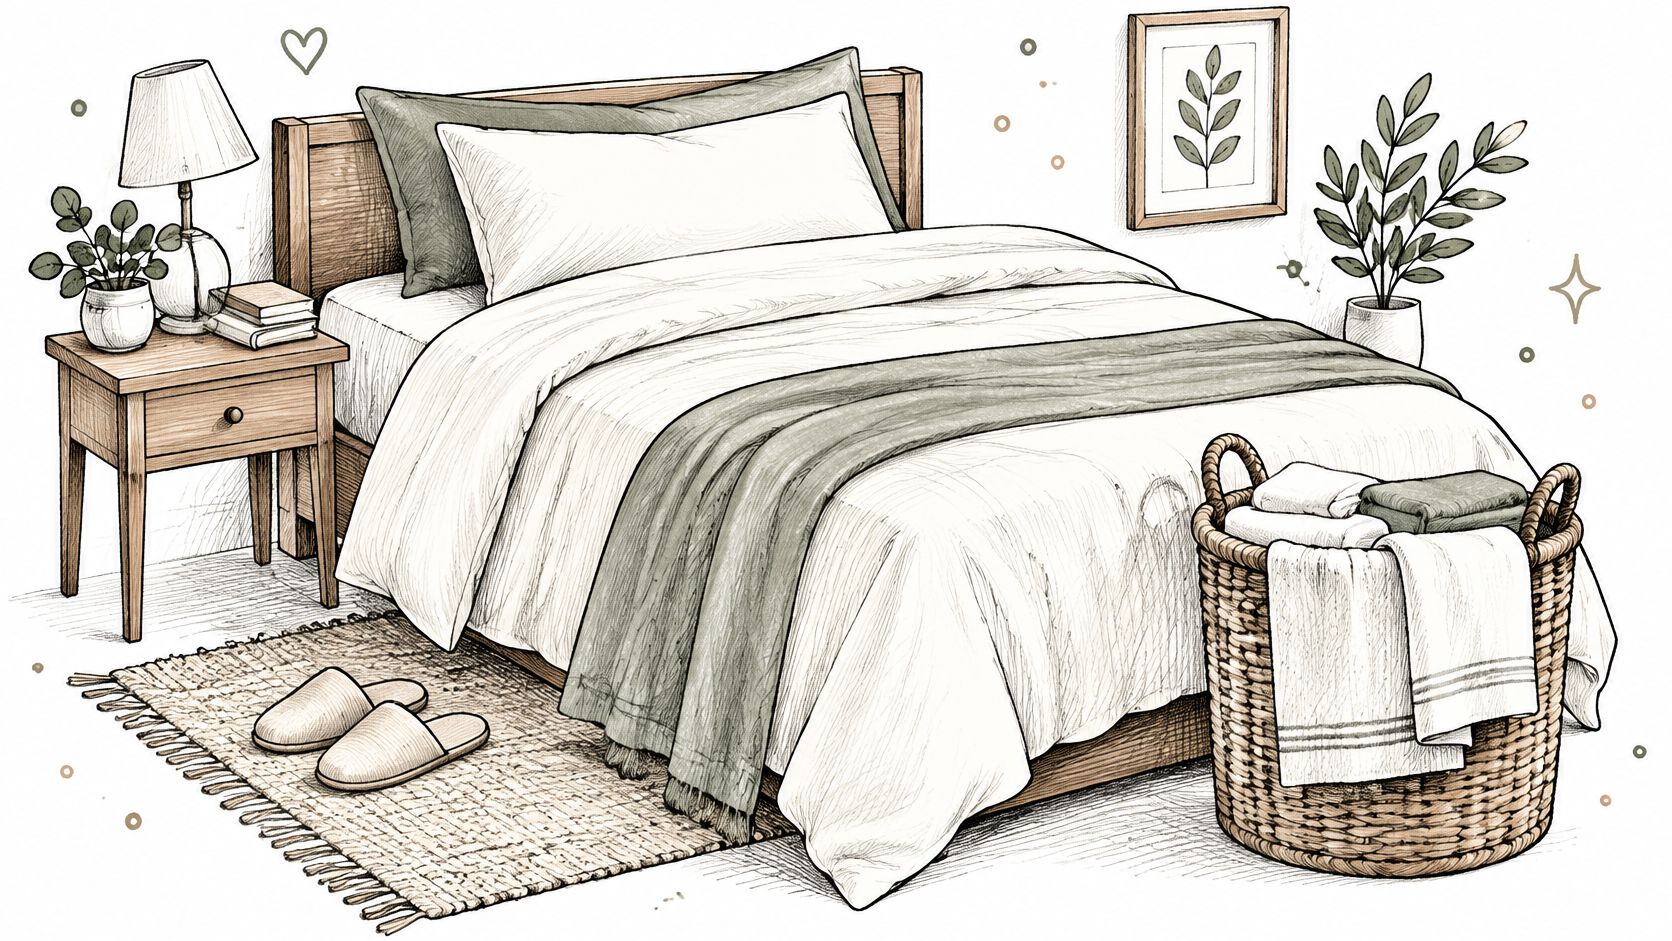
Strip the bed near the start of the bedroom clean, not after you've vacuumed. Carry used sheets directly to the laundry area instead of shaking them across the room. Dust bedside surfaces while the bed is bare, then remake it with clean bedding.
Separate the bed change from the full laundry cycle when that makes the day easier. A spare sheet set lets you finish the bedroom without waiting beside the dryer. The laundry task still needs an owner until everything is dry and put away.
Define what counts as finished
- Weekly starting routine: Replace sheets and pillowcases. Adjust sooner for sweating, spills, illness, or pets that sleep on the bed.
- At each change: Inspect protectors and covers for soil. Wash them when needed, using their care instructions rather than assuming all bedding needs the same cycle.
- After washing: Dry bedding completely before storage or use. Finish when the bed is remade and clean laundry is put away.
Use hot water only when the fabric care label permits it. Choose the detergent dose for the load and machine rather than adding extra for a stronger scent. Overloading the drum also makes bulky bedding harder to wash and dry properly.
For a couple sharing bedroom chores, one person might own stripping and remaking the bed while the other owns washing and drying. Name the handoff clearly. A wet load left in the machine isn't a completed bedding task.
7. Clean Glass, Mirrors, and Windows
A smeared mirror usually needs better residue removal, not more spray. Dust the frame first, apply a modest amount of suitable glass cleaner to a cloth, and wipe the surface. Buff remaining moisture with a separate dry, lint-free cloth.
Work in shade where possible. A hot pane can dry before you've removed the cleaner, leaving marks that tempt you to repeat the whole process. Protect nearby wood, stone, and painted finishes from overspray.
Finish-line test: Check glass from an angle. A straight-on view can hide streaks and greasy patches.
Separate quick polishing from window washing
Give the bathroom mirror a place in the weekly bathroom routine. Treat full window washing as a separate room-by-room task, including the surrounding frame and sill rather than polishing the pane above a dirty ledge.
- Weekly mirror care: Remove toothpaste spots, fingerprints, and haze. Finish when the glass is dry and visibly clear.
- Monthly glass check: Inspect glass tables, interior doors, and reachable panes. Clean the ones that show marks rather than washing untouched glass automatically.
- Seasonal window work: Clean accessible tracks, frames, sills, and panes. Finish when loose debris and wash water are removed.
For example, clean the living-room window during that room's deeper session, before vacuuming the floor. Schedule exterior glass separately, and leave inaccessible windows to someone equipped to reach them safely.
Shower glass may need a different method from ordinary fingerprint removal. Follow this guide to removing hard-water stains from glass shower doors rather than scrubbing harder with an unsuitable abrasive. Keep acidic products away from finishes they can damage.
8. Empty Trash and Sanitize High-Touch Surfaces
Check bins during the daily reset, but take waste out before the final floor clean when possible. Remove leaking or odorous rubbish promptly. Replace the liner and clean any spill inside the bin before calling the task finished.
Then give frequently handled surfaces deliberate attention. Door handles, switches, faucet handles, remotes, and phones need methods suited to their materials. Never spray cleaner directly into electronics or electrical fittings.
Clean routinely, disinfect with purpose
Routine cleaning removes dirt; disinfection requires an appropriate product used correctly. Don't turn every fingerprint into a reason to apply disinfectant. During illness or after relevant contamination, target the affected touchpoints and follow the product's surface compatibility and contact-time directions.
- Daily waste check: Empty full, leaking, or odorous bins. Finish with a clean rim, an appropriate liner, and waste moved to its collection point.
- Weekly touchpoint clean: Remove visible soil from handles, switches, and shared controls. Finish with surfaces clean and electronics dry.
- During illness: Increase attention to shared touchpoints and disinfect where appropriate. Finish only after the required wet contact time and any label-directed rinsing.
A clean smell isn't a finish line. A CIRES and CU Boulder indoor-air-quality report recommends unscented products and ventilation where possible, alongside attention to accumulated surface residue.
Say someone is unwell in a shared home. Prioritize the bathroom handles, shared controls, dishes, and waste instead of fragrancing every room. Keep cleaners secured away from children and pets, and wash your hands after handling rubbish.
How the 8 basic cleaning tasks compare
| Item | Typical Frequency | Main Focus | Key Tools |
|---|---|---|---|
| Declutter Before Cleaning | At the start of a room-cleaning session | Clear surfaces and floors; sort misplaced items | Bins, baskets, donation and trash bags |
| Dust High to Low | As part of routine room cleaning | Dust from ceilings and high surfaces down to baseboards | Microfiber cloths, damp cloths, feather or telescoping duster |
| Clean and Sanitize the Kitchen | Daily spot cleaning; weekly thorough cleaning | Clean and sanitize counters, sink, stovetop, and appliances | Cleaning cloths, kitchen cleaner, disinfectant |
| Clean the Bathroom | Weekly, with quick checks more often | Clean and disinfect the toilet, sink, shower or bath, mirror, and floor | Bathroom cleaners, disinfectant, gloves |
| Vacuum and Mop Floors | Weekly or twice weekly; more often in high-traffic areas | Remove dirt from carpets and hard floors | Vacuum, broom, mop, floor cleaner |
| Change and Wash Bedding | Weekly or every two weeks | Wash and replace sheets, pillowcases, and covers | Clean linens, washing machine, laundry detergent |
| Clean Glass, Mirrors, and Windows | Monthly or seasonally | Remove marks from glass and clean window frames and sills | Glass cleaner, lint-free cloths, squeegee |
| Empty Trash and Sanitize High-Touch Surfaces | Daily or several times a week | Remove household trash and disinfect frequently touched surfaces | Trash bags, disinfectant, cleaning cloths |
Turn This Checklist Into a Routine You Actually Keep
A basic house cleaning checklist becomes useful when you stop treating every task as equally urgent. Food residue, spills, dirty dishes, and leaking rubbish need prompt attention. Dusting, bedding, and full bathroom cleaning need dependable recurring slots, while window tracks and awkward furniture gaps can sit on a longer rotation.
Start with the house you use. A busy kitchen may need attention throughout the day, while a guest room may need little more than inspection between visits. Set frequencies around visible need and household use, then adjust them when the same area repeatedly gets dirty before its scheduled clean.
Give each task a clear owner and ending
Write tasks so another person can understand them without asking what you meant. Replace clean kitchen with wash dishes, wipe counters, clean cooled stovetop, and wash sink. Keep floors as the final stage, even if someone else handles them.
- Daily anchors: Attach dishes, counter wiping, clutter collection, and waste checks to meals or bedtime.
- Weekly room work: Give bathrooms, furniture dusting, floors, and bedding a predictable place in the week.
- Monthly and seasonal rotation: Separate high dusting, window care, appliance interiors, and difficult-access areas from everyday upkeep.
- Shared responsibility: Assign the whole task, including putting tools away and completing any laundry handoff.
In a 2024 U.S. survey, 32.9% of respondents said they followed some type of chore schedule, according to Cinch Home Services. Yours doesn't need to be elaborate. It needs to show what's due, who owns it, and what finished looks like.
Review the work that keeps slipping
After you've used the routine for a few weeks, look at unfinished tasks without blaming the person assigned to them. The job may be too broad, badly timed, or dependent on someone else clearing the space first. Split it, move it, or make that dependency explicit.
Keep a reduced routine for difficult weeks: dishes, usable food-preparation surfaces, essential bathroom care, laundry needs, and waste. Resume less urgent work without trying to repay every missed chore in a marathon session. Recurring reminders are the simplest next step, because you shouldn't have to remember the entire household schedule to keep it running.
Benny offers room-based chore lists, recurring schedules, reminders, and shared assignments, so you can turn these tasks into visible household responsibilities. Visit Benny to set up your rooms, assign the next clean, and give each recurring chore a clear place in your week.